DC Motor Test Activity with Motor Shield Driver Board
This Activity uses the Seeed Motor Shiled V2 and Arduino Uno and two DC Motors. You can practice with two simple DC Motors or purchase a geared motor kit. SeeedStudio Motor shield can be purchased at http://www.seeedstudio.com or through www.amazon.com or at Radioshack. You will need to learn to use the motor shield first in order to construct the Robot Rover.
Arduino Uno Rev3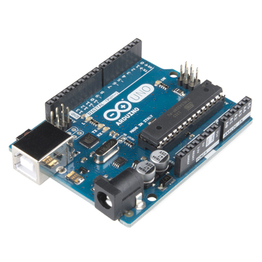
|
SeeedStudio Motor Shield V2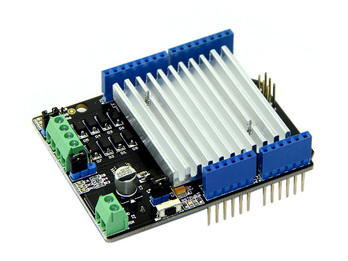
|
Geared DC Motor Kit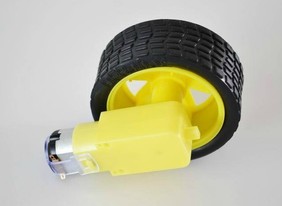
|
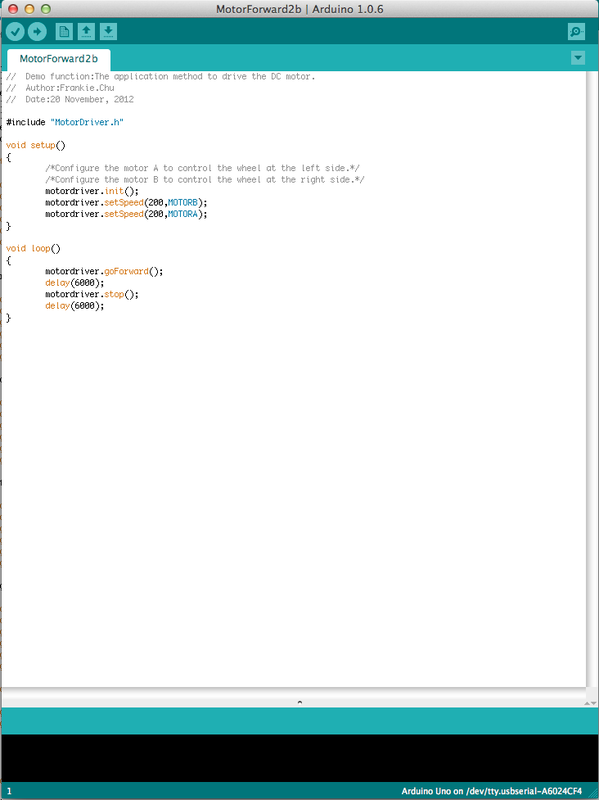
This code below will do a test run of different movements of the wheels.
Be sure to download and install the Seed Motor shield library. You can get it from this address http://www.seeedstudio.com/wiki/File:MotorDriver20121210.zip
Be sure to download and install the Seed Motor shield library. You can get it from this address http://www.seeedstudio.com/wiki/File:MotorDriver20121210.zip
It is important that you know how to install a library into the Arduino IDE software so that it will work with the part that you are using. In this case the Seedstudio Motor shield V2. After you download the Seeedstudio Motor shield library from the website above then you need to open Arduino IDE software and install/import that library you downloaded.
Download Motor.h library that goes with this code example at http://www.seeedstudio.com/wiki/File:MotorDriver20121210.zip
Follow instructions on how to install or importing a new library into the Arduino IDE software.
https://www.arduino.cc/en/guide/libraries
Download Motor.h library that goes with this code example at http://www.seeedstudio.com/wiki/File:MotorDriver20121210.zip
Follow instructions on how to install or importing a new library into the Arduino IDE software.
https://www.arduino.cc/en/guide/libraries
Testing Motors
Go Forward - Try this code to see if you can make the motors go forward.
Follow the slides above to make sure you connected the Motor Shield to the Arduino and the wires from the motors to the motor shield correctly. For this test run, the power that comes from the USB cord should be enough for you to test your motors. In the future, after you mount everything to a base with wheels, you will need to either use a more powerful battery using the barrel jack connection or attach an external battery to the power pins on the shield.
1. Combine the Arduino Uno with the Seeedstudio Motor Shield V2.
2. Attach the positive and negative wires from each motor to the motor shield as shown in slide 7 above.
3. After you have tested your motors with the goForward code, then try other directions by adding the following code; goBackward goLeft goRight. Simply copy the 4 lines of code in the void loop section from motordriver to delay, and then paste it right underneath and replace the code goForward with the other directional code words.
4. Power is supplied by the USB cord, however you can attach a battery pack after you've uploaded the code.
5. Once the motors are moving, you can see if they are moving in the correct direction. Place a bit of tape at the end of each shaft so you can see the direction the motor is turning. You may need to switch the wires on the motor shield so that they go in the correct direction.
STEM
Engineering
|
***From here you will advance to the roving robot section to build a roving robot, Actobotics or Crawler Robot.
|
