
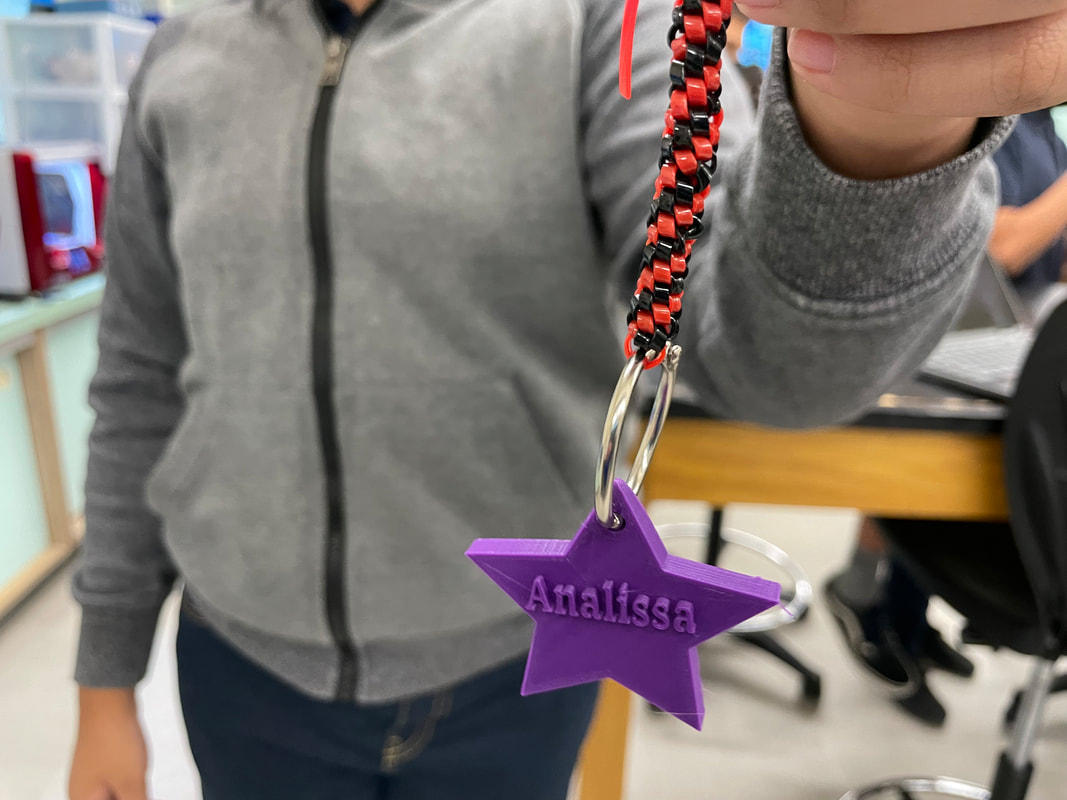
Box Knot Key Chain
|
Name Tag
|

|
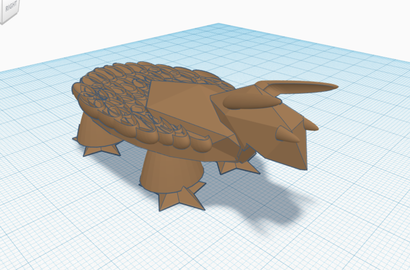
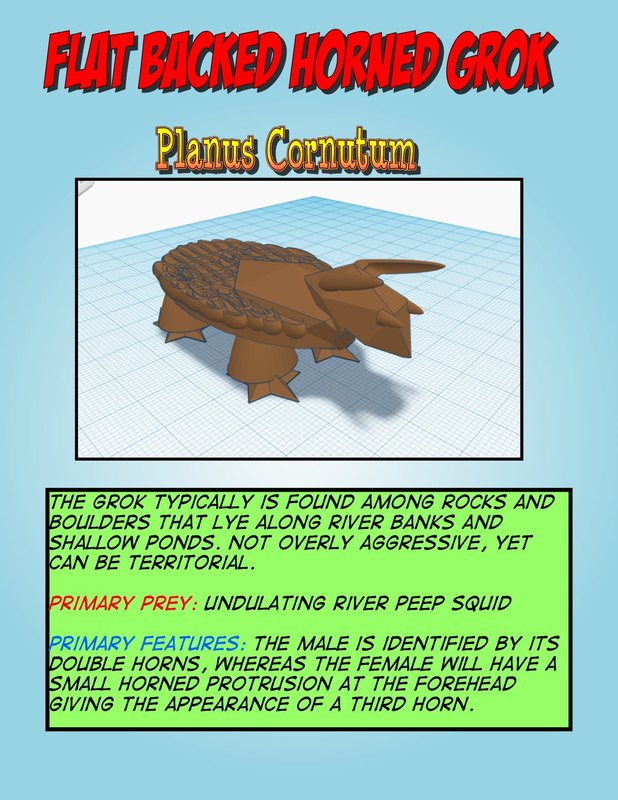
Creature CreationDesign a creature using all the shapes available. Modify shapes by using other shapes with the hole function.
* Be sure your creature does not exist on the planet Earth. * Take your time and add details like textures and multiple shapes. * Do not be afraid to modify shapes by stretching or squishing. * This is not a 15 minute project. Take several days to modify and revise your creature before you are sure it is done. * Create an information card or Game card for your creature. * At least 50mm in length and approx. 30mm tall. |
|
|
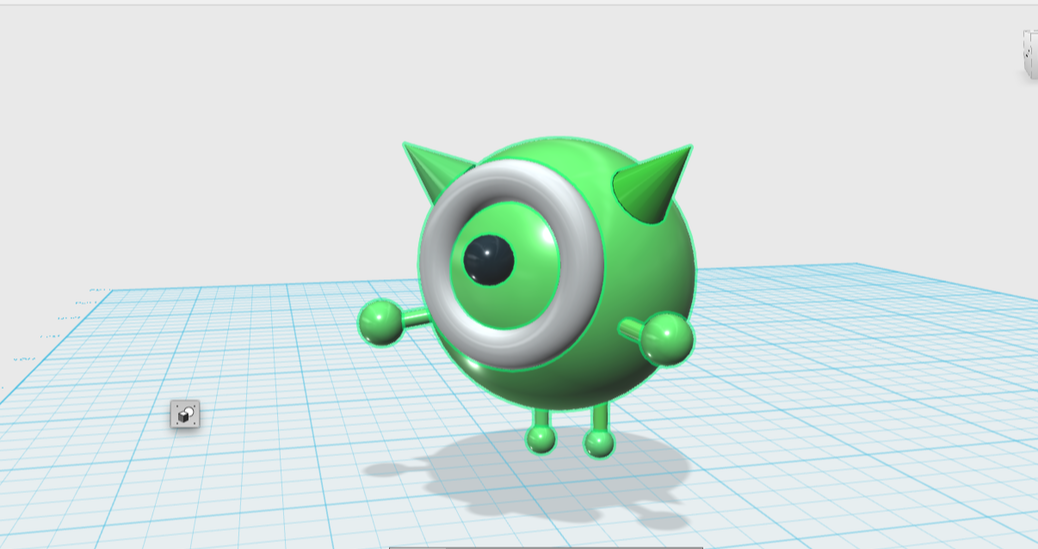
Toy Character
Design a Character Head - Use Tinkercad to create a toy character from all the shape choices. This will give you practice with all the settings to combine and resize shapes, as well as working with color and textures.
*Final design should have multiple colors. *All shapes should be merged or combined. *Should be at least 30mm tall. *Should be a character, head or face Writing - write a story about your character. At least one page. Use pages, docs or word to type your story. If you have time, create a comic if possible. |
|
Game Piece
Use Tinkercad.com to Design a game piece for a simple game like Snakes and Ladders. Make your piece unique. Your game piece should have curves as well as straight lines. Be artistic but remember that it is for a simple board game. No larger than 3 cm tall and no wider than 1.5 cm at the base.
Create a Snakes and Ladders style game with your own theme using Pages, Docs, Word or any other graphics app. Print it out and play with another group. |

|
DieUse Tinkercad.com to Design a die for your game. You may want to research different types of dice in case you want to be unique. Or you can create a traditional design. You may want to review any tutorials on the tutorial page.
Should be no taller than 40mm. |
|
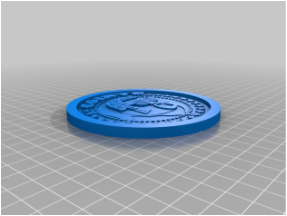
CoinImagine you have your own country, design your own coin. First look at examples of a coin to see what designs have in them. Please take notice of special symbols that appear on many coins. Symbols have special meanings. Or, if you are studying an ancient civilization, try to replicate an ancient coin. Use Tinkercad.com to design your unique coin.
Or Design a Coin for your classroom currency. Thickness should be .30 cm or 3 mm and diameter should be between 40 mm to 50 mm. |
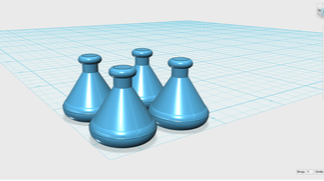
Whistle
|
|
After studying about the physics of sound as well as how a flute is able to make sound, design a small toy whistle. Your whistle should be approximately 70 mm long with a diameter of at least 20mm. The thickness of the cylinder wall should be no thicker than 2 mm and no less than 1.5 mm. Use Tinkercad.com to design your whistle. (Make sure you use the measurements shown on the pictures) 1. Make your cylinder using the cylinder tool. 2. You will need to Hollow out the Cylinder by using another cylinder and turn that 2nd cylinder into a hole. be careful not to make the hole go all the way through. (Group the shapes for the holes to appear) 3. Next make the square opening on top using a cube shape. (Group the shapes for the holes to appear) 4. Next make a small plug to fit at the open end. The plug should have 1/3 of it sliced off so that there is a space for the air to go through. See the instructions in the picture that shows how to use a hollow box to slice the piece off. 5. Make sure that the plug extends a bit beyond the top hole above. 6. Make a circular piece to cover the opposite end. 7. When done, Export your file as an .stl file and then give it to teacher to have it printed. |
|
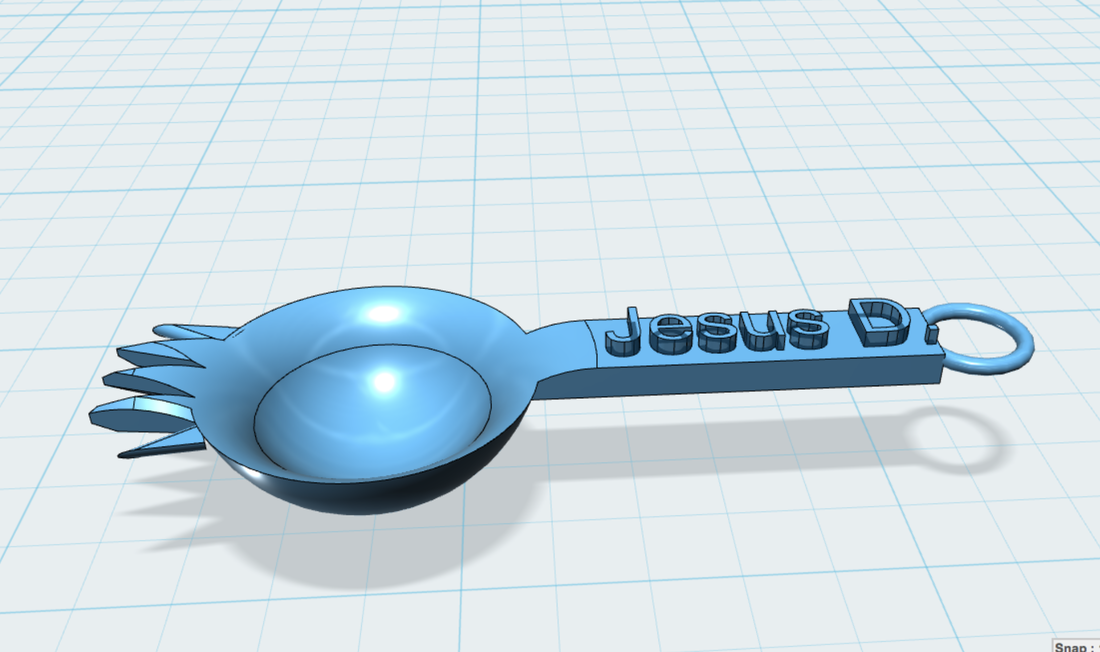
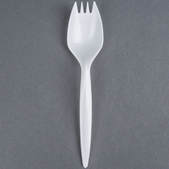
To prepare for the Zombie Apocalypse, you decide to prepare and make a survival backpack. You notice that you are carrying to much stuff. In order to save space you decide that you don’t need to take a bunch of eating utensils. To save space you need to design a SPORK, an eating utensil. Using Tinkercad.com, make your own version of a SPORK for your survival backpack.
|
|
3D Printed Wearables
Lighted - Message
|
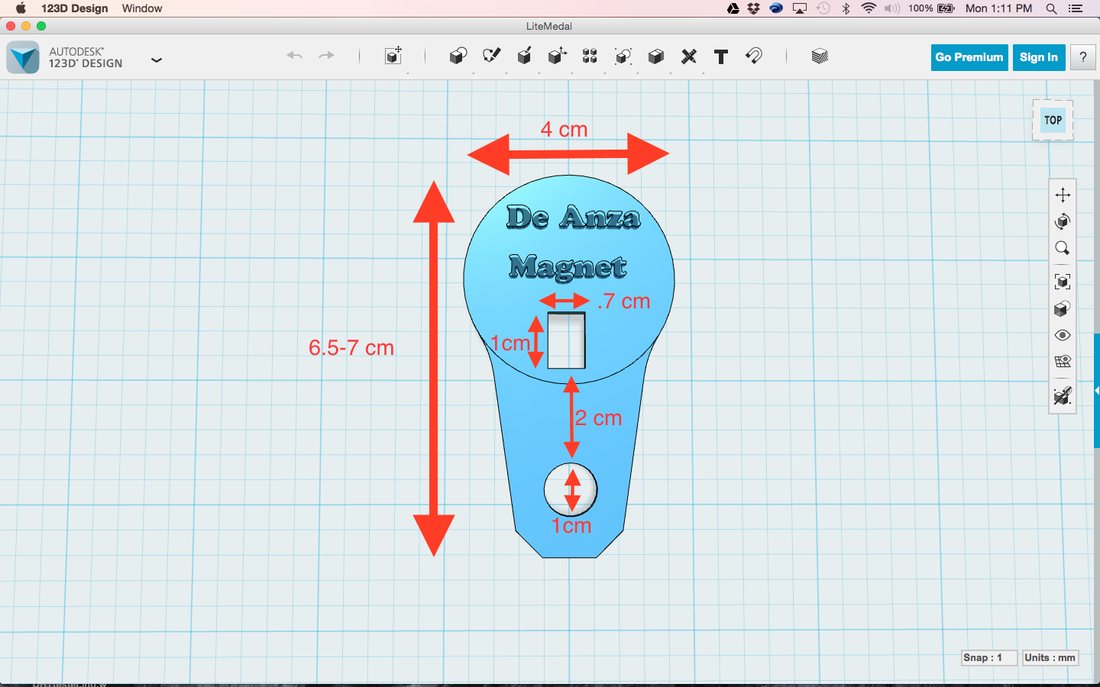
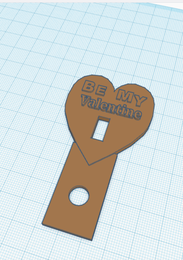
Design a Light Medal - Use Tinkercad.com and Follow the measurement instructions below. You can put your name on it or the name of our school or make a "Be My Valentine" light up medal. Click on the picture to see details and measurements. Once done and printed, ask Mr. Reyes for an LED light bulb and a 3 volt coin battery and tape. Insert battery in round hole and LED in rectangular hole with one leg on either side. Pinch the legs so that one side touches positive on the battery and the other touches negative. The light should light up.
Writing - Tell what your Light up medal or Message is about and how you would use it or what occasion it represents. Use pages, docs or word to type your story. If you have time, create a comic if possible. |
|
Ring of Power
|
|
Design a ring of power with tinkercad. Be sure to measure the diameter of your finger. Use a piece of string to go around your finger. Measure the length of the string after you place it around your finger. Use a ruler with millimeters. Each line is a millimeter. The formula is Diameter = Circumference divided by Pi. Once you know the circumference (length around finger) in mm then do a google search for the circumference calculator. Choose the selection that says Omni. Change settings so all measurements are in mm. Put in your measurement for circumference. The diameter measurement will now show. Use that measurement adding two more mm. When you make the ring part, make sure that your ring has that measurement on both sides. This will give you the diameter of the ring so you will know how wide it should be. Also include a hole for the LED Light. The hole should be 6 mm wide. On the back include a hole or slot for the CR1025 Coin battery. The slot should be 10.5mm to 10.6 mm wide. You can paint your ring once it is printed. Your ring top should be between 25mm - 27mm wide.
Writing - write a story about your magic ring or ring of power. Use pages, docs or word to type your story. If you have time, create a comic if possible. |
The Amulet of Power
|
|
Design an Amulet of Power with tinkercad. Your Amulate should be 55 mm in diameter. Include 3 holes as shown for the LED Lights. The hold should be 6 mm wide. On the back include 3 holes or slots for the CR1025 Coin battery as shown. The slot should be 10.4 mm wide. You can paint your Amulet once it is printed.
Writing - write a story about your magic amulet or lighted pendant. Use pages, docs or word to type your story. If you have time, create a comic if possible. |
|
|
Race Car DerbyUse Tinkercad.com to Design a race car for our Race Car Derby. Your race care should be no longer than 7 inches and 2 inches wide. Be sure to change the measurement setting to inches, otherwise it will start out in millimeters. If you forget, be sure to check your measurements in millimeters and convert those measurements in google, then adjust your measurements using the measurement tool to scale your model as closely as possible to the correct measurements.
|
Robot Mods

|
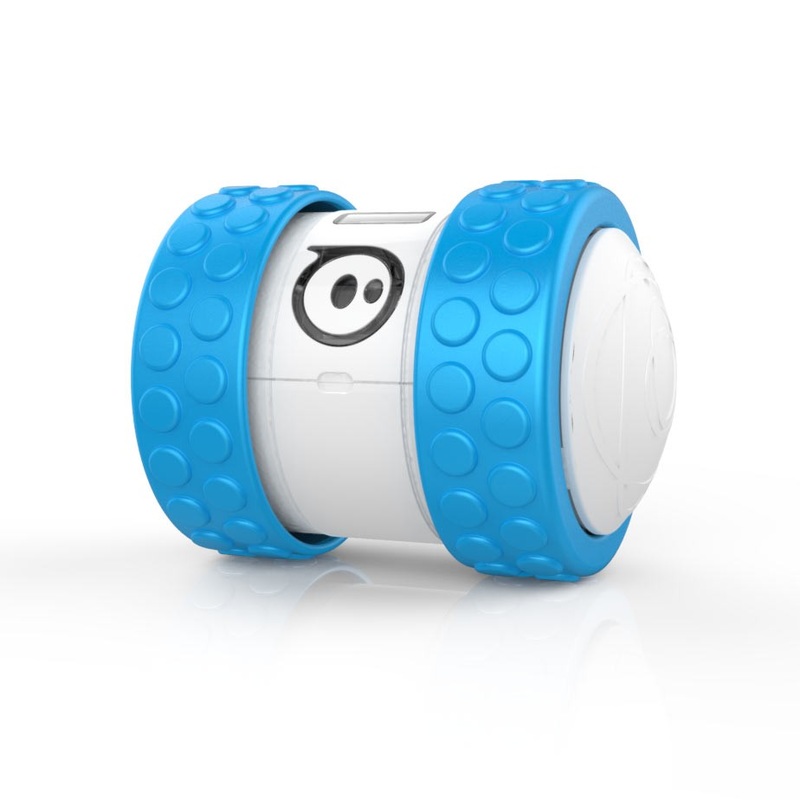
Casings, Covers and CarriagesThink about and design a unique casing, covering or carriage for your Sphero. A Carriage could by used as a method to carry or push something.
|
|
Wheels, Hooks, Hubs and ArmorThink about how you could design new wheels that provide different traction. Or think about how to design a hook attachment that your Ollie could use to push or pull something. Design a unique set of hubs. Finally try to design a shield or armor that fits around the top and middle of your Ollie.
|
|
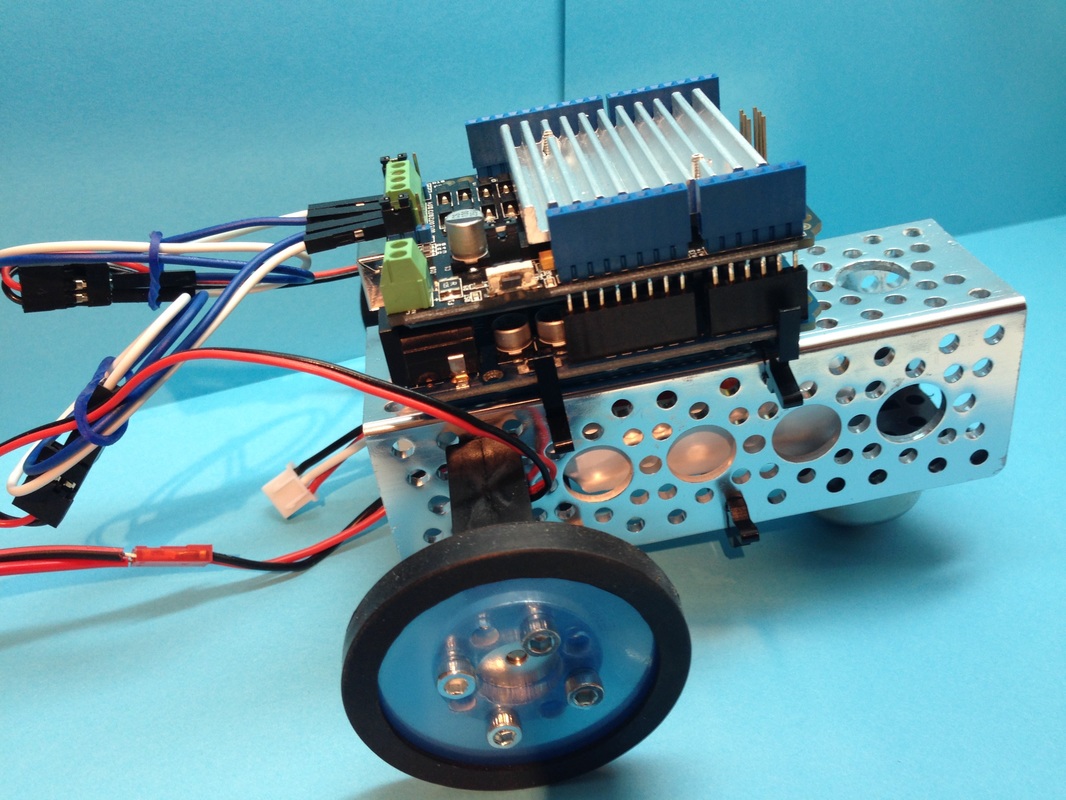
Cover or Front EndIf you've built the Actobitty Robot, design a cover to go over your electronics. Or design a front end that makes our bot look cool.
|
